Acrylic Painting Supplies for Beginners: What to Buy First
In this guide
Start with a small set of acrylic paints, a surface made for acrylic, a flat brush, a round brush, a palette, and a way to clean up. An easel, a large brush set, and a shelf of mediums can wait until a specific project calls for them.
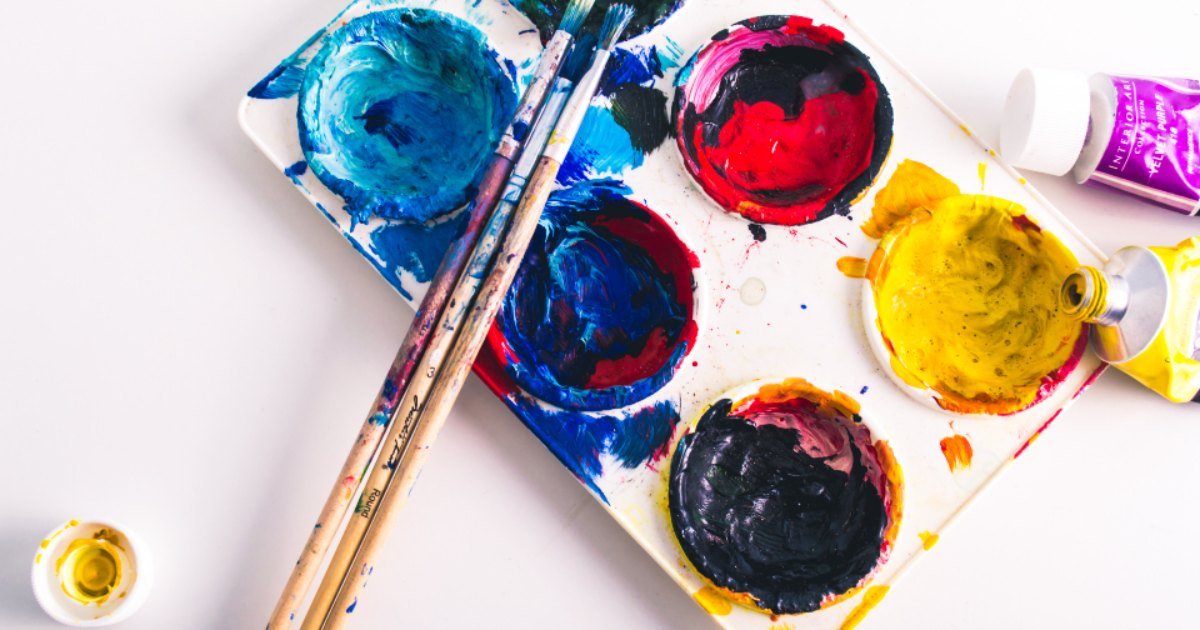
Buy for the picture you want to paint. A small landscape needs broad coverage and a few controlled edges; it doesn’t need the same equipment as a textured painting made with a palette knife. Our first acrylic landscape exercise uses the compact kit below.
The short shopping list
- Acrylic paint with colors identified on the packaging.
- Acrylic paper or a pre-primed canvas panel.
- A flat synthetic brush and a round synthetic brush.
- A palette, dedicated water containers, rag, soap, and table covering.
Paint: choose a useful palette before a large set
A practical starting selection is white, blue, yellow, and red or magenta. Those are editorial suggestions for mixing exercises, not a claim that every combination can reproduce every color. Different pigments can behave very differently even when their color names sound similar.
Look at the individual tube labels. Note the color name and, where provided, pigment codes, opacity, and lightfastness. Liquitex’s Basics booklet explains these markings. Keep the packaging until you know which colors you want to replace.
For a first purchase, artist student ranges are worth comparing alongside professional ranges. The decision is about the actual formula, color choices, and cost for your project. Winsor & Newton describes differences between its Galeria and Professional acrylics; this isn’t a hands-on ranking of competing brands.
Choose the consistency you want to use
Thicker paint and more fluid paint are different tools. Don’t assume that adding a lot of water turns one into an equivalent version of the other. Liquitex’s paint-format guide explains its range of consistencies.
For ordinary brush painting, choose paint sold for that purpose. Pouring kits, acrylic ink, and spray paint introduce different methods and cleanup considerations. They aren’t necessary additions to this shopping list.
Surface: remove unnecessary preparation
Choose a small sheet of acrylic paper or a canvas panel explicitly marked as ready for acrylic paint. Paper keeps practice sheets easy to store; a rigid panel is convenient on a tabletop. Neither choice obliges you to buy an easel.
Check whether a canvas is already primed. For example, Liquitex lists its Basics cotton canvases as pre-primed and ready for acrylic color. That statement applies to that product; read the label on the surface you buy.
Gesso prepares a painting surface. It isn’t a mandatory extra coat on every ready-made support. If your chosen surface needs priming, use the ground manufacturer’s instructions and allow its stated drying time. Liquitex Basics Gesso, for instance, comes with its own application directions. Don’t borrow a drying time from an unrelated product.
Printer paper, an unknown piece of glossy packaging, and a clean acrylic-painting panel are not interchangeable starting points. Use the known support first so you can concentrate on how the paint handles.
Brushes: start with two shapes you can explain
A flat brush gives you a broad face and a narrow edge. A round brush gives you a pointed tip for smaller shapes. Liquitex’s own descriptions of its flat and round brushes illustrate those jobs.
Select a width that suits your surface. Look at the bristle dimensions, not just a size number: you need to see whether the brush will cover your sky or fit a petal. If a pack contains many shapes, ask which ones your first project actually uses.
Synthetic brushes sold for acrylic are a straightforward starting choice. You can explore stiff or soft filaments later as your preferred marks become clearer. Our acrylic brush guide focuses on matching the shape and feel to a task.
Palette and water containers
Use a smooth palette intended for paint, or a dedicated non-food mixing surface you can clean. Give yourself enough room to keep an original color beside each new mixture. Mixing over the only clean patch makes it harder to understand what you changed.
You can begin without a wet palette. Put out a modest amount of paint, close the containers, and assess your working conditions. If paint repeatedly dries before you can use it, then investigate a palette designed to manage moisture.
Keep separate water containers for the dirty first rinse and the cleaner next rinse. Label them for painting and keep them away from drinking glasses. A rag beside the palette lets you remove excess water before making the next stroke.
Cleanup supplies belong in the starter kit
Have suitable soap, a rag, and a dedicated container for paint residue ready before opening the paint. Clean tools while the paint is still wet. Winsor & Newton’s acrylic brush-care guide stresses prompt washing and gentle handling.
Don’t treat the sink as a paint-disposal container. Liquitex advises collecting excess paint and sludge separately in its safety and disposal guidance. Your local waste service determines what to do with the collected material. The brush-cleaning guide separates routine washing from disposal.
What can wait?
| Extra | Buy it when… |
|---|---|
| Easel | Working upright would suit your space or painting method. |
| Palette knife | You want to mix without a brush or make knife marks. |
| Slow-drying medium | A project needs more working time, and you’ve checked compatibility and directions. |
| Large brush assortment | You can name the mark that your current brush can’t make. |
| Varnish | You’re ready to follow a finishing system for your particular paint and surface. |
| More colors | A mixing study shows a specific gap in your palette. |
Before ordering extras, make a small mixing chart and paint one picture. Write down the obstacle you encountered. “The sky needs a wider brush” is a more useful shopping reason than “a beginner must own twelve brushes.”
If you’d rather choose a guided project than assemble a freehand kit, compare beginner-friendly paint-by-number designs at Artistry By Numbers, then read the selected product’s contents before ordering extras. Both websites are operated by OmniLearnConsultingCommerce LLC. The freehand supply list above is a separate approach, with colors and composition left to you.
Opening image: Paint Supplies by Steve Johnson, CC0. Resized and cropped. Shown as illustration, not as the result of this tutorial.