
Acrylic paint is thin enough when it makes the mark you need. For a small adjustment, try a little clean water in a separate portion of paint. For a more fluid, transparent layer, choose an acrylic medium intended for that use. Test the result on the same kind of surface as your painting, and let the test dry before committing to it.
There is no useful universal recipe for every tube, canvas and technique. A flowing line, an opaque block of color and a transparent glaze are different jobs. Start with the job rather than a fixed water ratio.
Decide what needs to change
Put down a short stroke with the paint as it comes from the container. Look at it before adding anything. Does the brush drag? Do you want less texture? Is the mark smooth but more transparent than you expected? These observations lead to different choices.
| What you want | A sensible starting point | What to check |
|---|---|---|
| A line that flows off the brush | A damp brush, then a small water adjustment if needed | The line stays where you put it |
| A transparent glaze over dry color | A fluid acrylic glazing or gloss medium | Transparency and the dry surface sheen |
| Flat coverage without heavy ridges | A paint formulated with a more fluid body, or a compatible fluid medium | Coverage after drying |
| More time to blend | A slow-drying medium intended for acrylic paint | Its instructions and the change in transparency |
Liquitex describes its Gloss Medium as a way to lower viscosity and increase transparency. A gloss medium also changes gloss. Choose it deliberately, not simply because the bottle says “medium.”
Mix a test portion, not the whole pot
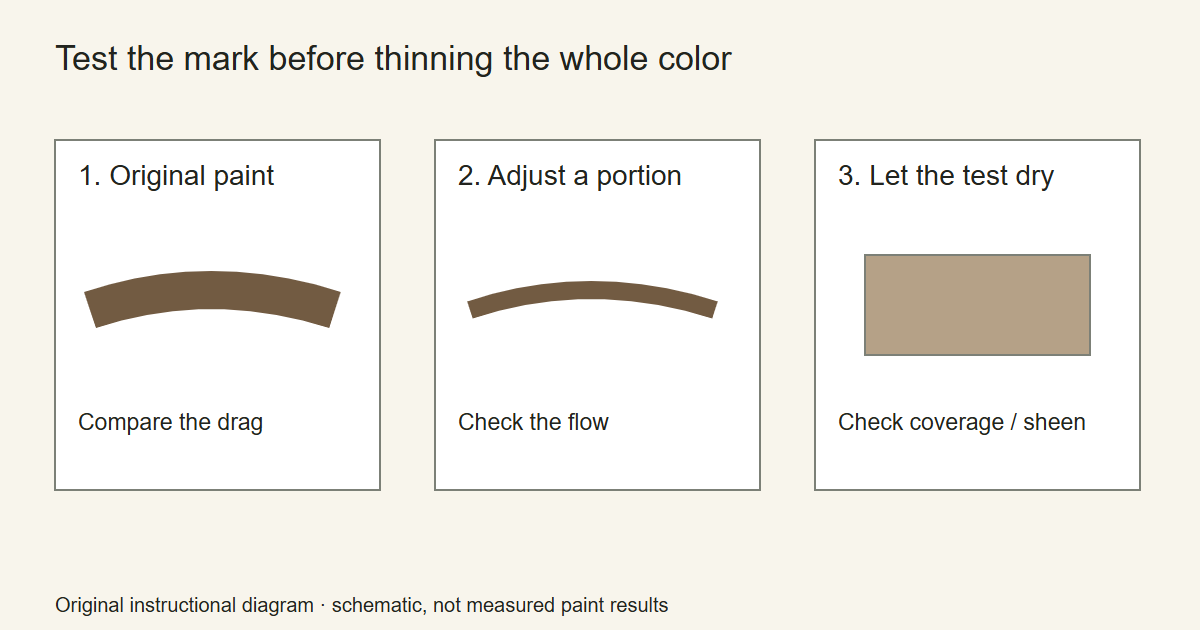
Set aside some paint on a clean palette. Keep an untouched portion next to it so you can compare the two. Use a palette knife or a spare brush to mix, rather than repeatedly loading your painting brush with an uncertain mixture.
- Dampen the brush and remove excess water. Start with the original paint again; that may be all the adjustment the mark needs.
- If it still drags, add a small amount of water or the chosen medium to the separate portion.
- Mix thoroughly. Draw a line and paint a small patch on a scrap of the same support.
- Let the patch dry. Check the edge, coverage and sheen before making more.
Keep a note of the paint range and the approximate amount you added. That note is more useful next time than a recipe copied for a different paint. The objective is a mixture you can repeat with your materials.
Water and medium do different work
Water is convenient for adjusting a small amount of paint. An acrylic medium brings its own formulation and intended finish. The choice becomes more important when you want a very transparent layer or need to alter a larger portion of a color.
Do not assume a flow aid, retarder or other additive can be used like a medium. Liquitex explains the distinction in its Slow-Dri Fluid Additive instructions: this additive contains no acrylic binder and has a stated mixing limit. The directions for that product do not establish a limit for a different brand or medium.
For a first painting, change one variable at a time. Make a test with water, or make one with a medium. If you add several products together, you lose a clear comparison when the result behaves unexpectedly.
Thinner does not necessarily mean more opaque
If the canvas shows through, adding more water is unlikely to solve the coverage problem you are describing. First check how that color is labeled and how an unmodified stroke dries. Some paint choices are intended to be transparent.
Liquitex also distinguishes a paint formulated with a fluid body from Heavy Body paint diluted with water. If you repeatedly have to change a thick paint to do a fluid job, consider starting with a more suitable consistency.
For an opaque shape, compare a dried test patch with your intended result. For a glaze, seeing the underlayer is part of the plan. Keep those two tests separate. Our color mixing chart exercise provides a way to label dry samples from the paints you actually own.
What if the paint is already dry?
Thinning usable paint and rescuing a hardened lump are different problems. Canson notes that dried acrylic is no longer water-soluble. Do not keep pouring water into a fully dried piece expecting it to become fresh paint again.
If you are opening a paint by numbers kit, identify what is in the pots before modifying them. Artistry By Numbers explains the paint used in paint by numbers kits. Follow the instructions for the paint you have, and test outside the numbered design first.
Put the mixture to work
Use the adjusted paint for one small area before mixing more. If it runs beyond an edge, return to the unmodified portion and make a less fluid test. If the brush leaves uneven drag marks, compare your brush choice and loading as well as the paint. The guide to choosing brushes by the marks they make helps isolate that variable.
When the aim is a soft sky, move on to blending acrylic paint. A mixture that flows well is useful preparation, but the next decision is when to stop touching an edge as it dries.
Acrylic Painting Ideas and Artistry By Numbers are owned by OmniLearnConsultingCommerce LLC. Links to Artistry By Numbers lead to our related painting business.
Illustrative image: paint palette smooth by sure2talk, CC BY 2.0. Cropped and resized. Illustrative palette photograph; not a measured thinning test.