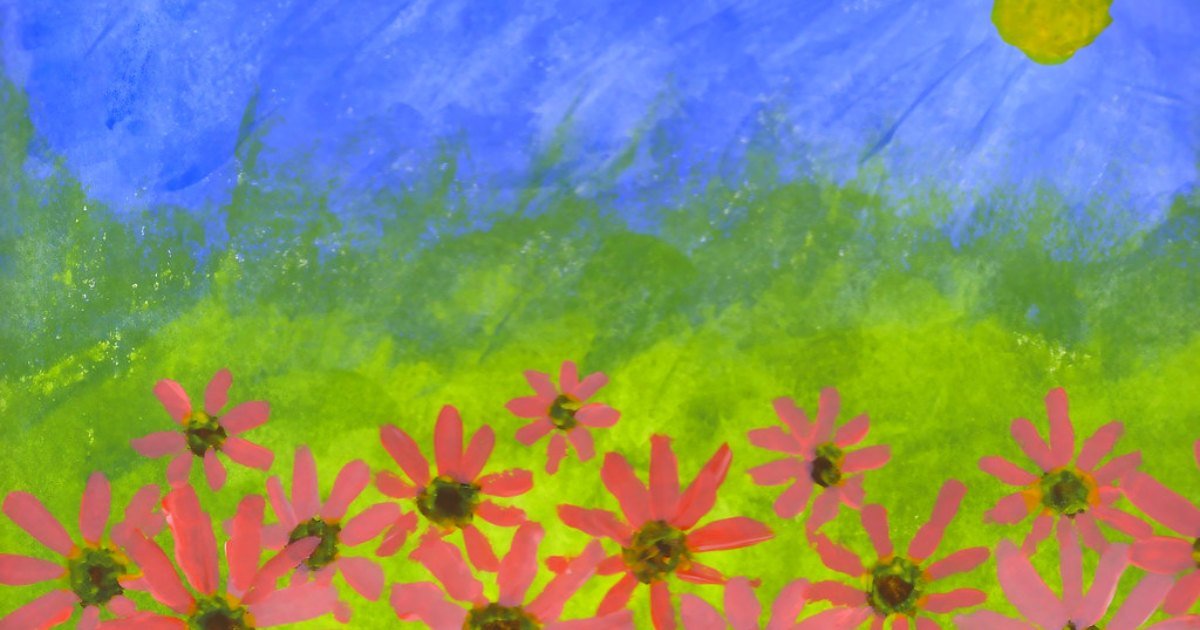
Start an acrylic flower painting with a flat background and a handful of simple flower heads. Paint the petals as separate shapes, let them dry, then add the centers. You don’t need to copy every detail of a real flower to make a readable meadow study.
This project uses a loose, decorative approach. It is an original practice plan, not a botanical drawing lesson or a reproduction of the example artwork. The useful constraint is to repeat a few marks instead of inventing a new technique for every flower.
Keep the first version simple
- Practice a petal on scrap before painting the picture.
- Give the flower heads different heights and sizes.
- Leave gaps between some petals and stems.
- Let contrasting layers dry instead of continually blending them.
Choose a small surface and a short palette
Use acrylic paper or a pre-primed canvas panel, a flat brush for the background, and a round brush for the flowers. The pointed round-brush shape is intended for controlled details; see Liquitex’s round brush description for the basic form.
For the suggested meadow, set out white, yellow, blue, and a red or magenta. Use what you already own rather than chasing an exact paint color. You can paint a red meadow, a white meadow, or a mixture of the two. On the palette, keep a clean patch of petal color apart from the green.
The starter supply guide covers the rest of the setup. Keep a scrap of your painting surface beside you: it is where you can test a mark, paint mixture, and brush load without changing the picture.
Practice the petal before drawing a flower
Load the lower part of the round brush with paint and make a short stroke on the scrap. Try placing the tip, gently pressing to widen the stroke, then lifting. Turn the scrap and repeat so the strokes point toward a small empty space.
Your mark does not have to look like a perfect teardrop. You are looking for a repeatable shape that is wider at one end. If pressing the brush feels awkward, use a short curved stroke and fill its middle instead. Both approaches fit this simplified flower.
Check the paint as well as your hand. If the bristles separate into scratchy lines, reload the brush and test again. If a puddle spreads beyond the shape, remove excess water from the brush before reloading. For more on adjustments, see how to thin acrylic paint.
Build the meadow from back to front
Paint a quiet background
Make a pale blue or muted green mixture on the palette. Cover the surface with the flat brush and let it dry. Keep this coat visually quiet; it is the space around the flowers.
Don’t add clouds, hills, a fence, and a distant house to the first version. Those are separate painting decisions. If you want a landscape with flowers later, use the beginner landscape exercise first, then add the flower shapes over a dry foreground.
Place the flower heads lightly
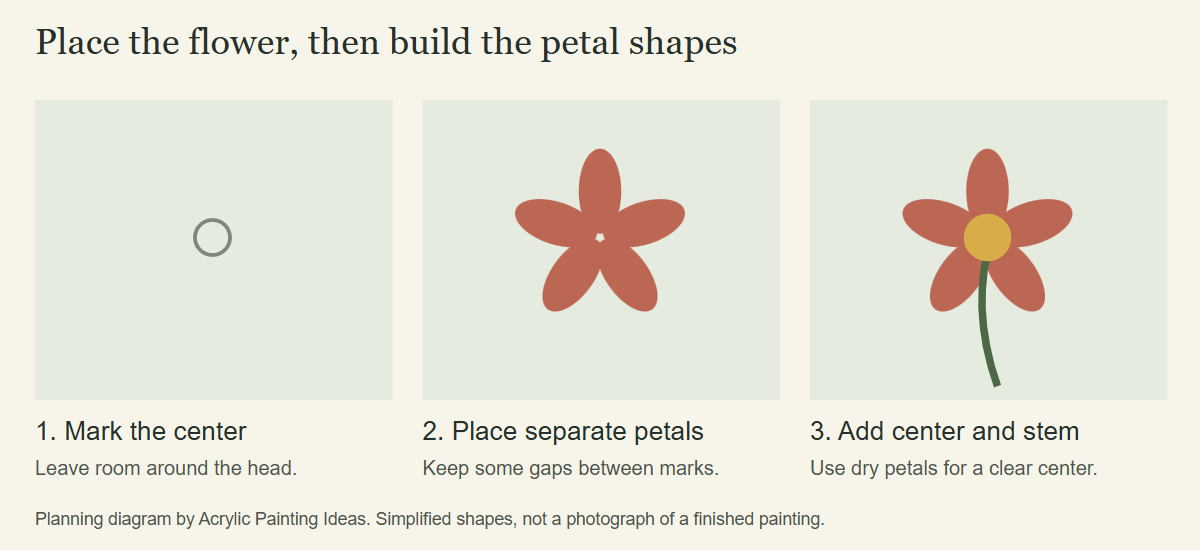
Mark a few small circles where the centers will go. For one suggested arrangement, use five flower heads: one larger flower off-center, two smaller flowers nearby, and two lower flowers toward the opposite side. Five is a compositional choice for this exercise, not a rule for painting meadows.
Leave open background visible around the group. Change the heights. If every flower sits on the same horizontal line, adjust the sketch now rather than trying to fix it after the stems are painted.
Add stems without tracing every branch
Use a green mixture and the tip of the round brush to make loose stems below the flower positions. A slightly wandering stem is fine. Add a few short leaves as separate strokes, with some pointing in different directions.
Keep the stems narrower than the flower heads. If your brush doesn’t make a thin enough line, omit a few stems or make the flower heads larger. Buying a tiny detail brush is one option, but it isn’t the only way to solve the drawing.
Paint the petal shapes
For a daisy-like flower, put short white strokes around the marked center, leaving some little gaps. For a rounded red flower, make a few broader petal shapes around an open middle. Let individual flowers vary; forcing every petal into the same outline can make the group look stamped.
If white petals show the background through them, check your color’s opacity and wait before adding another layer. Paint colors differ in coverage. Liquitex explains its opacity symbols in the Basics educational poster. More water isn’t a reliable cure for a transparent mark.
Put centers and accents on dry petals
When the petals are dry, place a small yellow center in each white flower, or a darker center in a red flower. Make the centers different sizes. Add a little lighter paint to the edge of one or two red petals if you want more separation.
Now stop and look. Do you read the group as flowers before noticing every brushstroke? If so, you don’t need to fill all the gaps. Add a few small dots in one open patch only if that space needs connecting to the rest of the painting.
Three problems that are easier to fix on scrap
| Problem | Small test before repainting |
|---|---|
| The petals merge into a blob | Paint fewer petals with more empty space between them. |
| The stems overpower the flowers | Try a narrower stroke or a quieter green beside your petal sample. |
| New highlights pick up the underlying red | Wait for that paint to dry, then place a fresh stroke without scrubbing. |
If you want to paint a recognizable species, use your own flower photograph or a reference with permission to use it. Observe where the petals attach and how the center is shaped. The decorative meadow above deliberately leaves those species-specific details open.
Turn the exercise into a different picture
Repeat the same flowers along the edge of a field. Paint one large flower head instead of a group. Or use only white flowers and let the spaces between them describe the arrangement. Choose one of those changes at a time so you can see which decision changes the picture.
For another subject with simple marks, browse the acrylic painting ideas list. If you want a flower design with printed shapes to follow, see Artistry By Numbers’ floral and botanical collection. Both sites are operated by OmniLearnConsultingCommerce LLC; that shared ownership is why this collection appears here. Check the individual design rather than assuming every floral kit has the same level of detail.
Opening image: field of daisies by Eric.Ray, CC BY 2.0. Resized and cropped. Shown as illustration, not as the result of this tutorial.