An acrylic abstract painting built from three shapes
In this guide
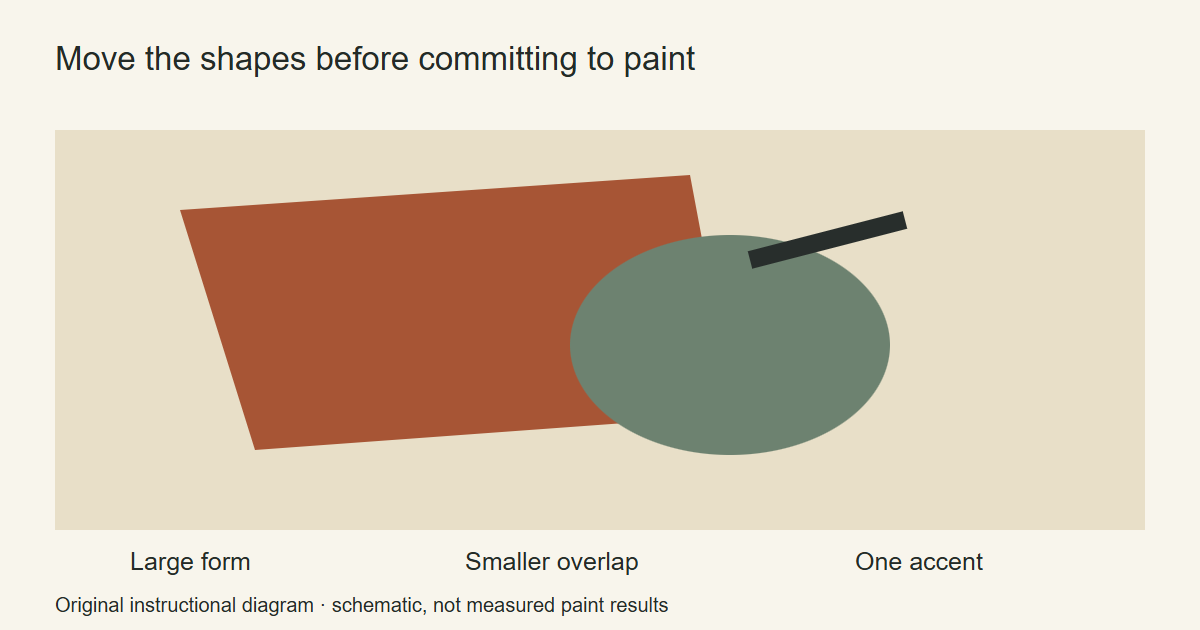
Give an acrylic abstract painting one clear place to look before adding texture. In this exercise, arrange a large shape, a smaller overlapping shape and a contrasting mark on a quiet ground. Move paper cutouts around first, then paint the arrangement you prefer.
You are practicing proportion, overlap and contrast. The design is an original exercise, not a reconstruction of a particular artist’s painting or a claim that all abstract art should follow this layout.
Decide what will be the main event
Choose one question for the canvas: will the main interest be the overlap of two shapes, an uneven edge, or a small bright mark in a quieter field? Keep that question beside the work while you paint.
MoMA’s glossary describes abstract work without requiring a representation of an outside scene. That gives you room to work directly with the painted relationships. It does not remove the need to make choices about them.
For this version, choose an overlap as the main event. Leave the other parts of the canvas less insistent so you have something to compare with it. You can make a different choice on the next painting.
Arrange paper shapes before mixing paint
Cut a broad uneven form and a smaller form from scrap paper. Draw a rectangle for the canvas format and move the pieces around inside it. Try one arrangement with a large open area and another with the forms pushed closer together.
Add a narrow scrap or pencil line to represent the contrasting mark. Test its position near the overlap, then away from it. Decide which arrangement gives you the direction you want.
Photograph the preferred arrangement for your own reference or draw its main positions. Canson recommends small planning sketches as a way to explore framing and placement. Here, the cutouts are a simple alternative that lets you move the same shapes without redrawing them each time.
Limit the paint decisions
Choose a ground color, two main mixtures and a color for the smaller mark. They do not all have to be different hues. A light and dark version of one color is enough for a first comparison.
Paint small samples together and let them dry. Check whether the mark still stands apart and whether the two larger forms are distinguishable. Use the mixing chart exercise if you want a record of the actual tubes and adjustments.
Keep a little ground mixture aside. It will be useful if you decide to reclaim some space around a shape. That is a practical reason to mix before the canvas becomes crowded.
Paint the ground and the largest form
Cover the ground and let it dry for this exercise. Lightly indicate the largest shape, then fill it with a broad brush. Leave some evidence of the brush if you like the edge it makes; you do not have to turn every contour into a perfect geometric outline.
Look at that form against the open ground before adding the next one. Is it too small to do the job you chose? Is its edge competing with the area you want to keep quiet? Make the large decision now, while the painting remains simple.
Canson’s opaque acrylic lesson begins with large areas before finer marks. Use that sequence to keep the composition visible instead of covering it immediately with detail.
Add the overlap, then the contrasting mark
Let the first form dry if you want a separate, clear overlap. Paint the smaller form across part of it. Judge the amount that remains visible: enough overlap to make the relationship deliberate, enough separation to keep both shapes readable.
Now add the smaller mark. Begin modestly. Step back and decide whether it is in the right place before enlarging it or repeating it elsewhere.
If you want a soft transition instead of a clear edge, practice the blending exercise on scrap first. Choose the soft edge because it serves the painting, rather than trying to blend every boundary in the same way.
Keep texture from taking over the structure
Select one area for an additional textured passage. Try a dry, broken mark on a spare sheet and compare it with a smoother stroke. Put only the version you want onto the canvas.
After each addition, look at the open areas as well as the painted ones. If every gap receives another line, the original arrangement may stop doing useful work. You can restore some of the ground after the unwanted passage dries.
If the painting feels scattered, temporarily cover part of it with a piece of plain paper. Compare a quieter version before deciding what to repaint. This is a composition check, not a score or a rule that an abstract painting must be minimal.
For a guided design with the shapes already arranged, Artistry By Numbers has an abstract paint by numbers collection. To continue freehand, make a second thumbnail with the same cutouts but a different amount of open ground. Keep the paint choices steady so you can see what the new arrangement changes.
Acrylic Painting Ideas and Artistry By Numbers are owned by OmniLearnConsultingCommerce LLC. Links to Artistry By Numbers lead to our related painting business.
Illustrative image: Abstract Painting – Olivia by Pictures by Ann, CC BY 2.0. Cropped and resized. Licensed existing artwork used for visual context; not a demonstration made for this tutorial.